


Form and Function
/Today I’m sharing some recent projects.
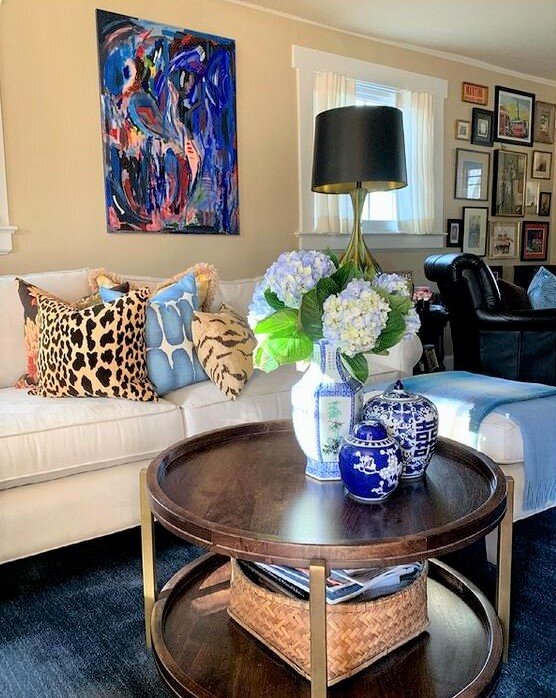
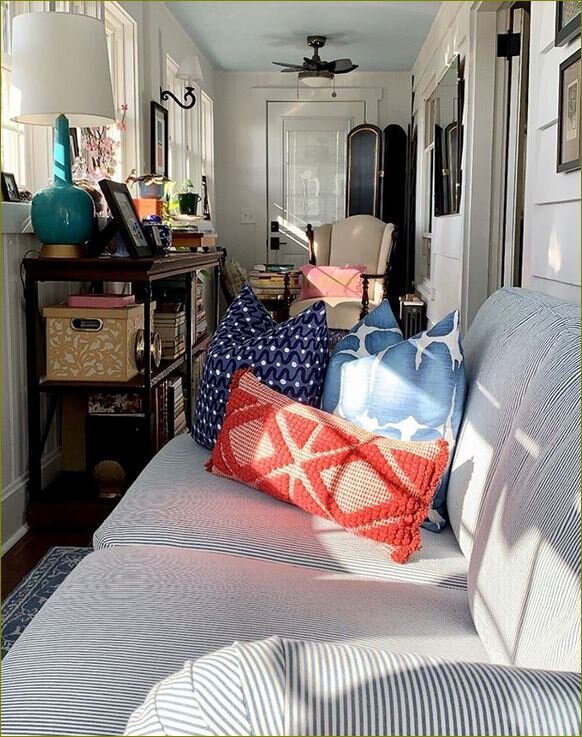
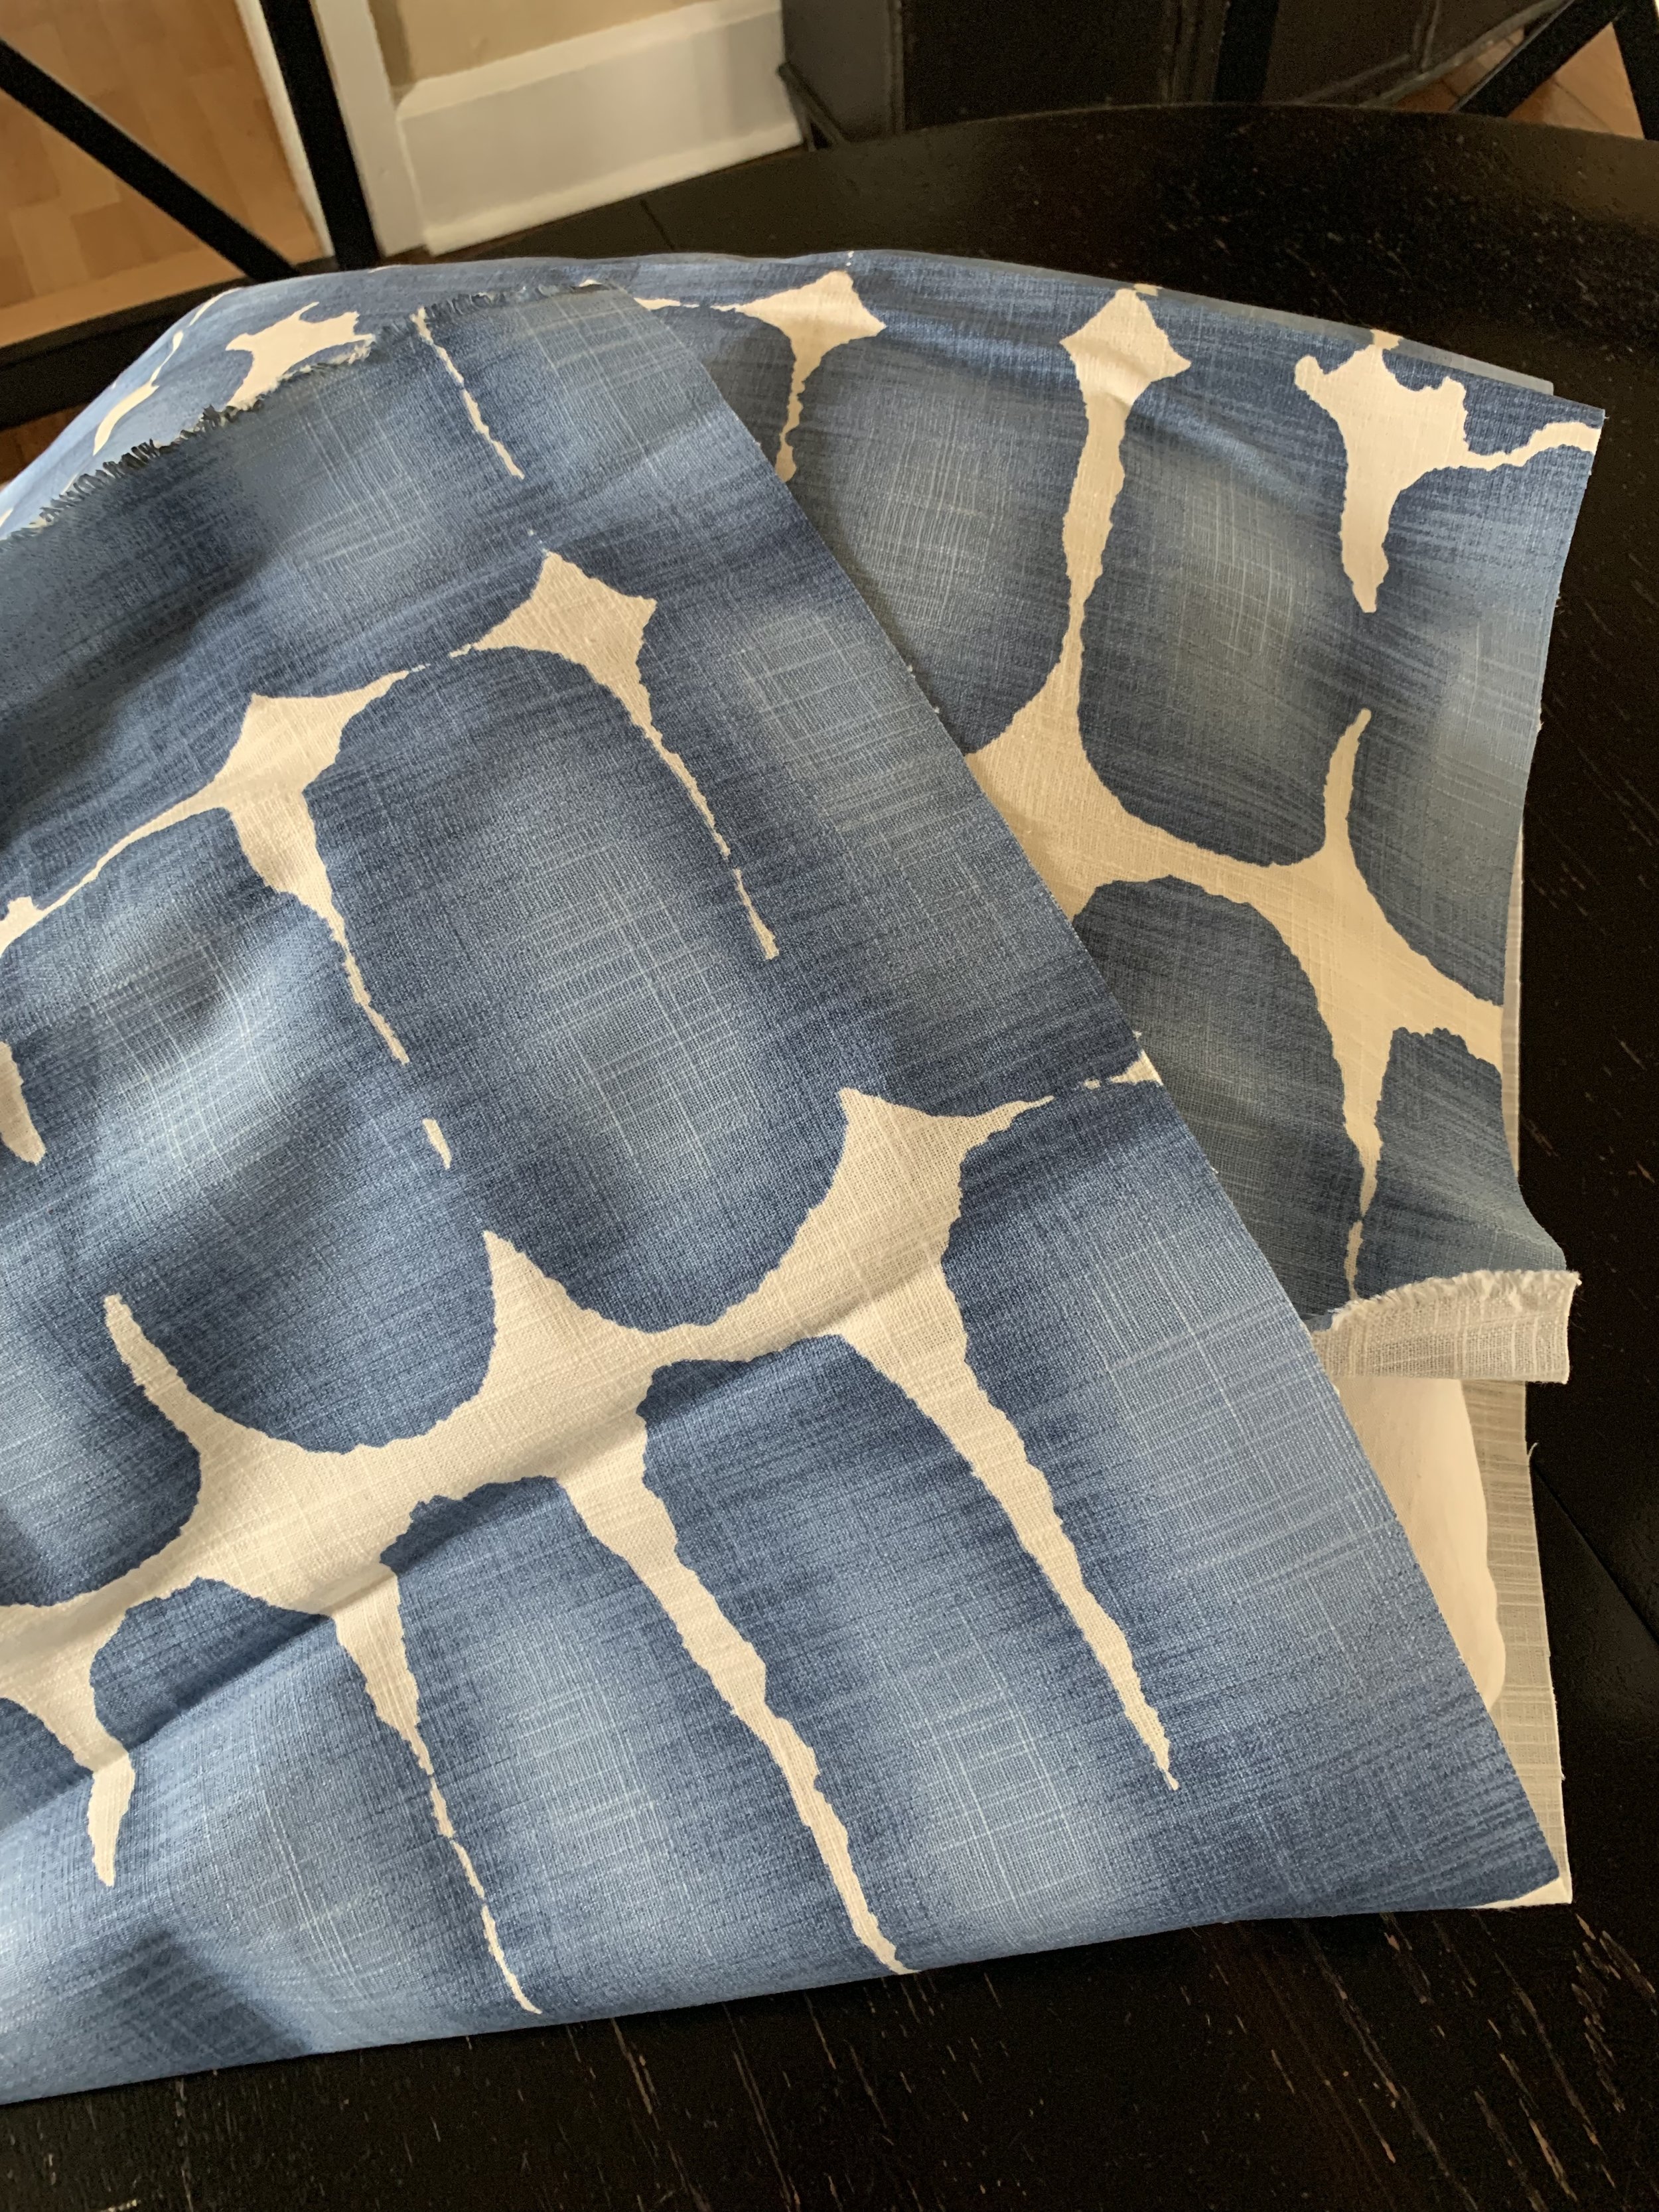
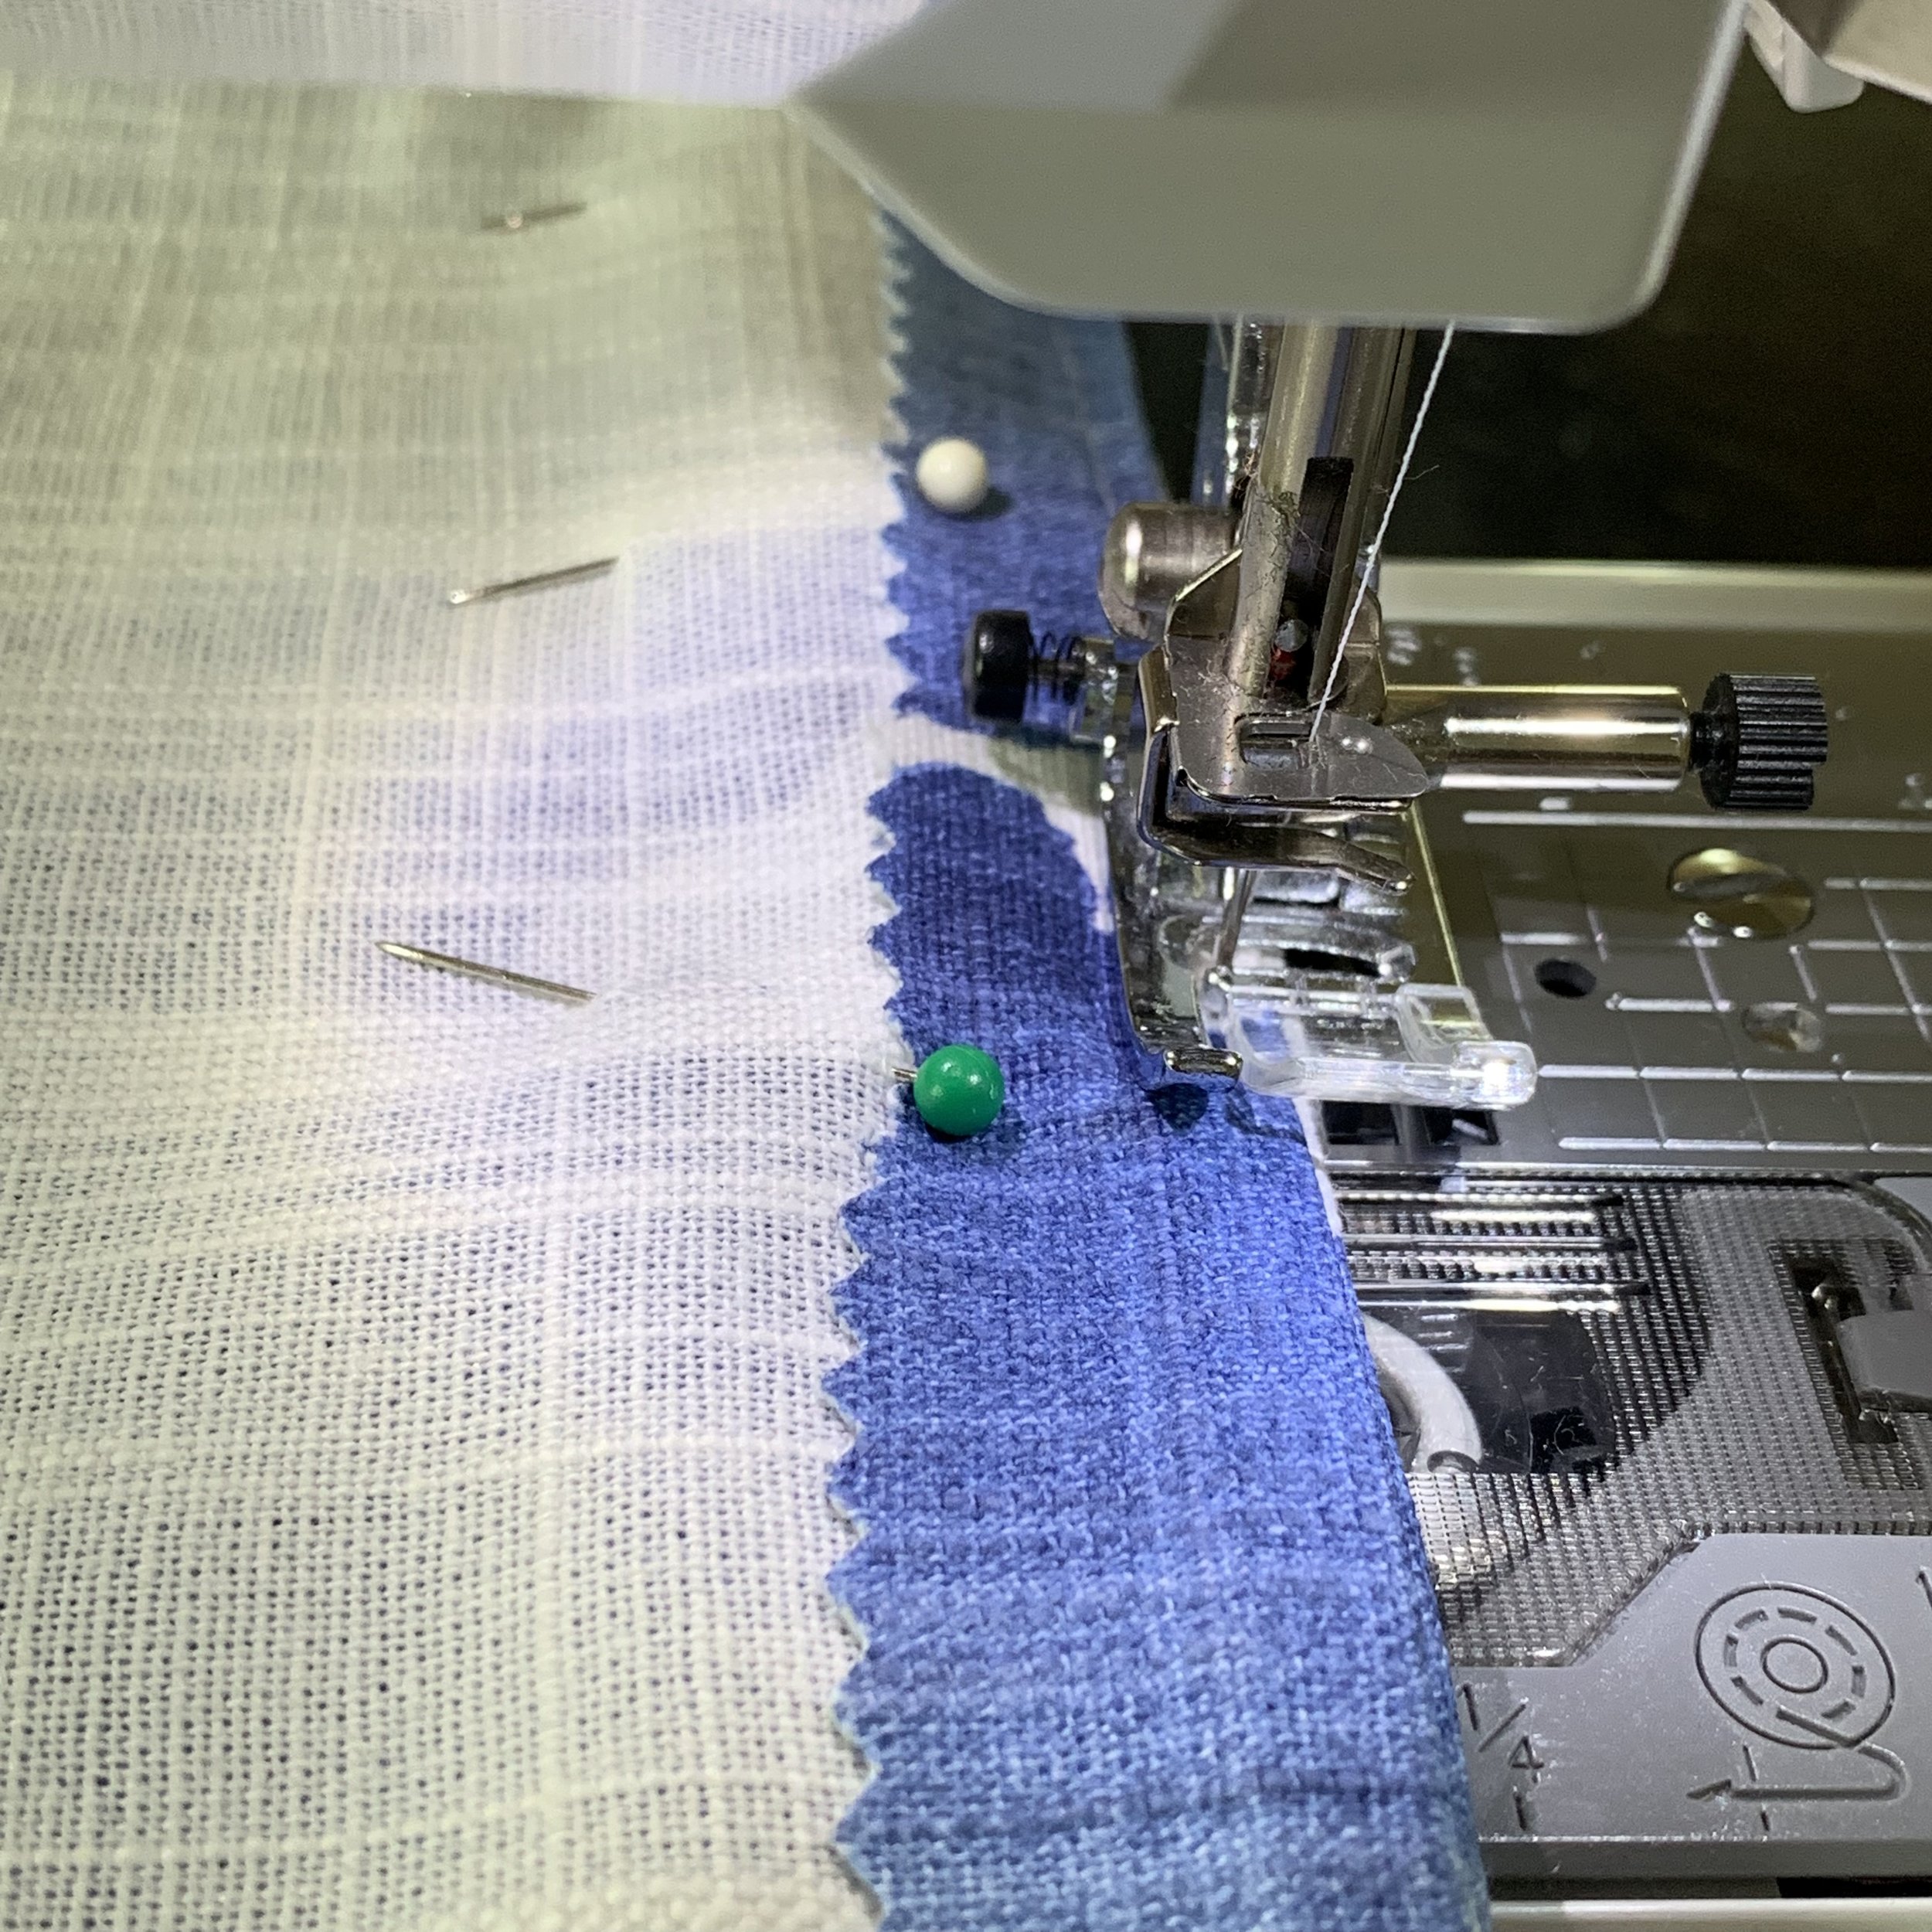
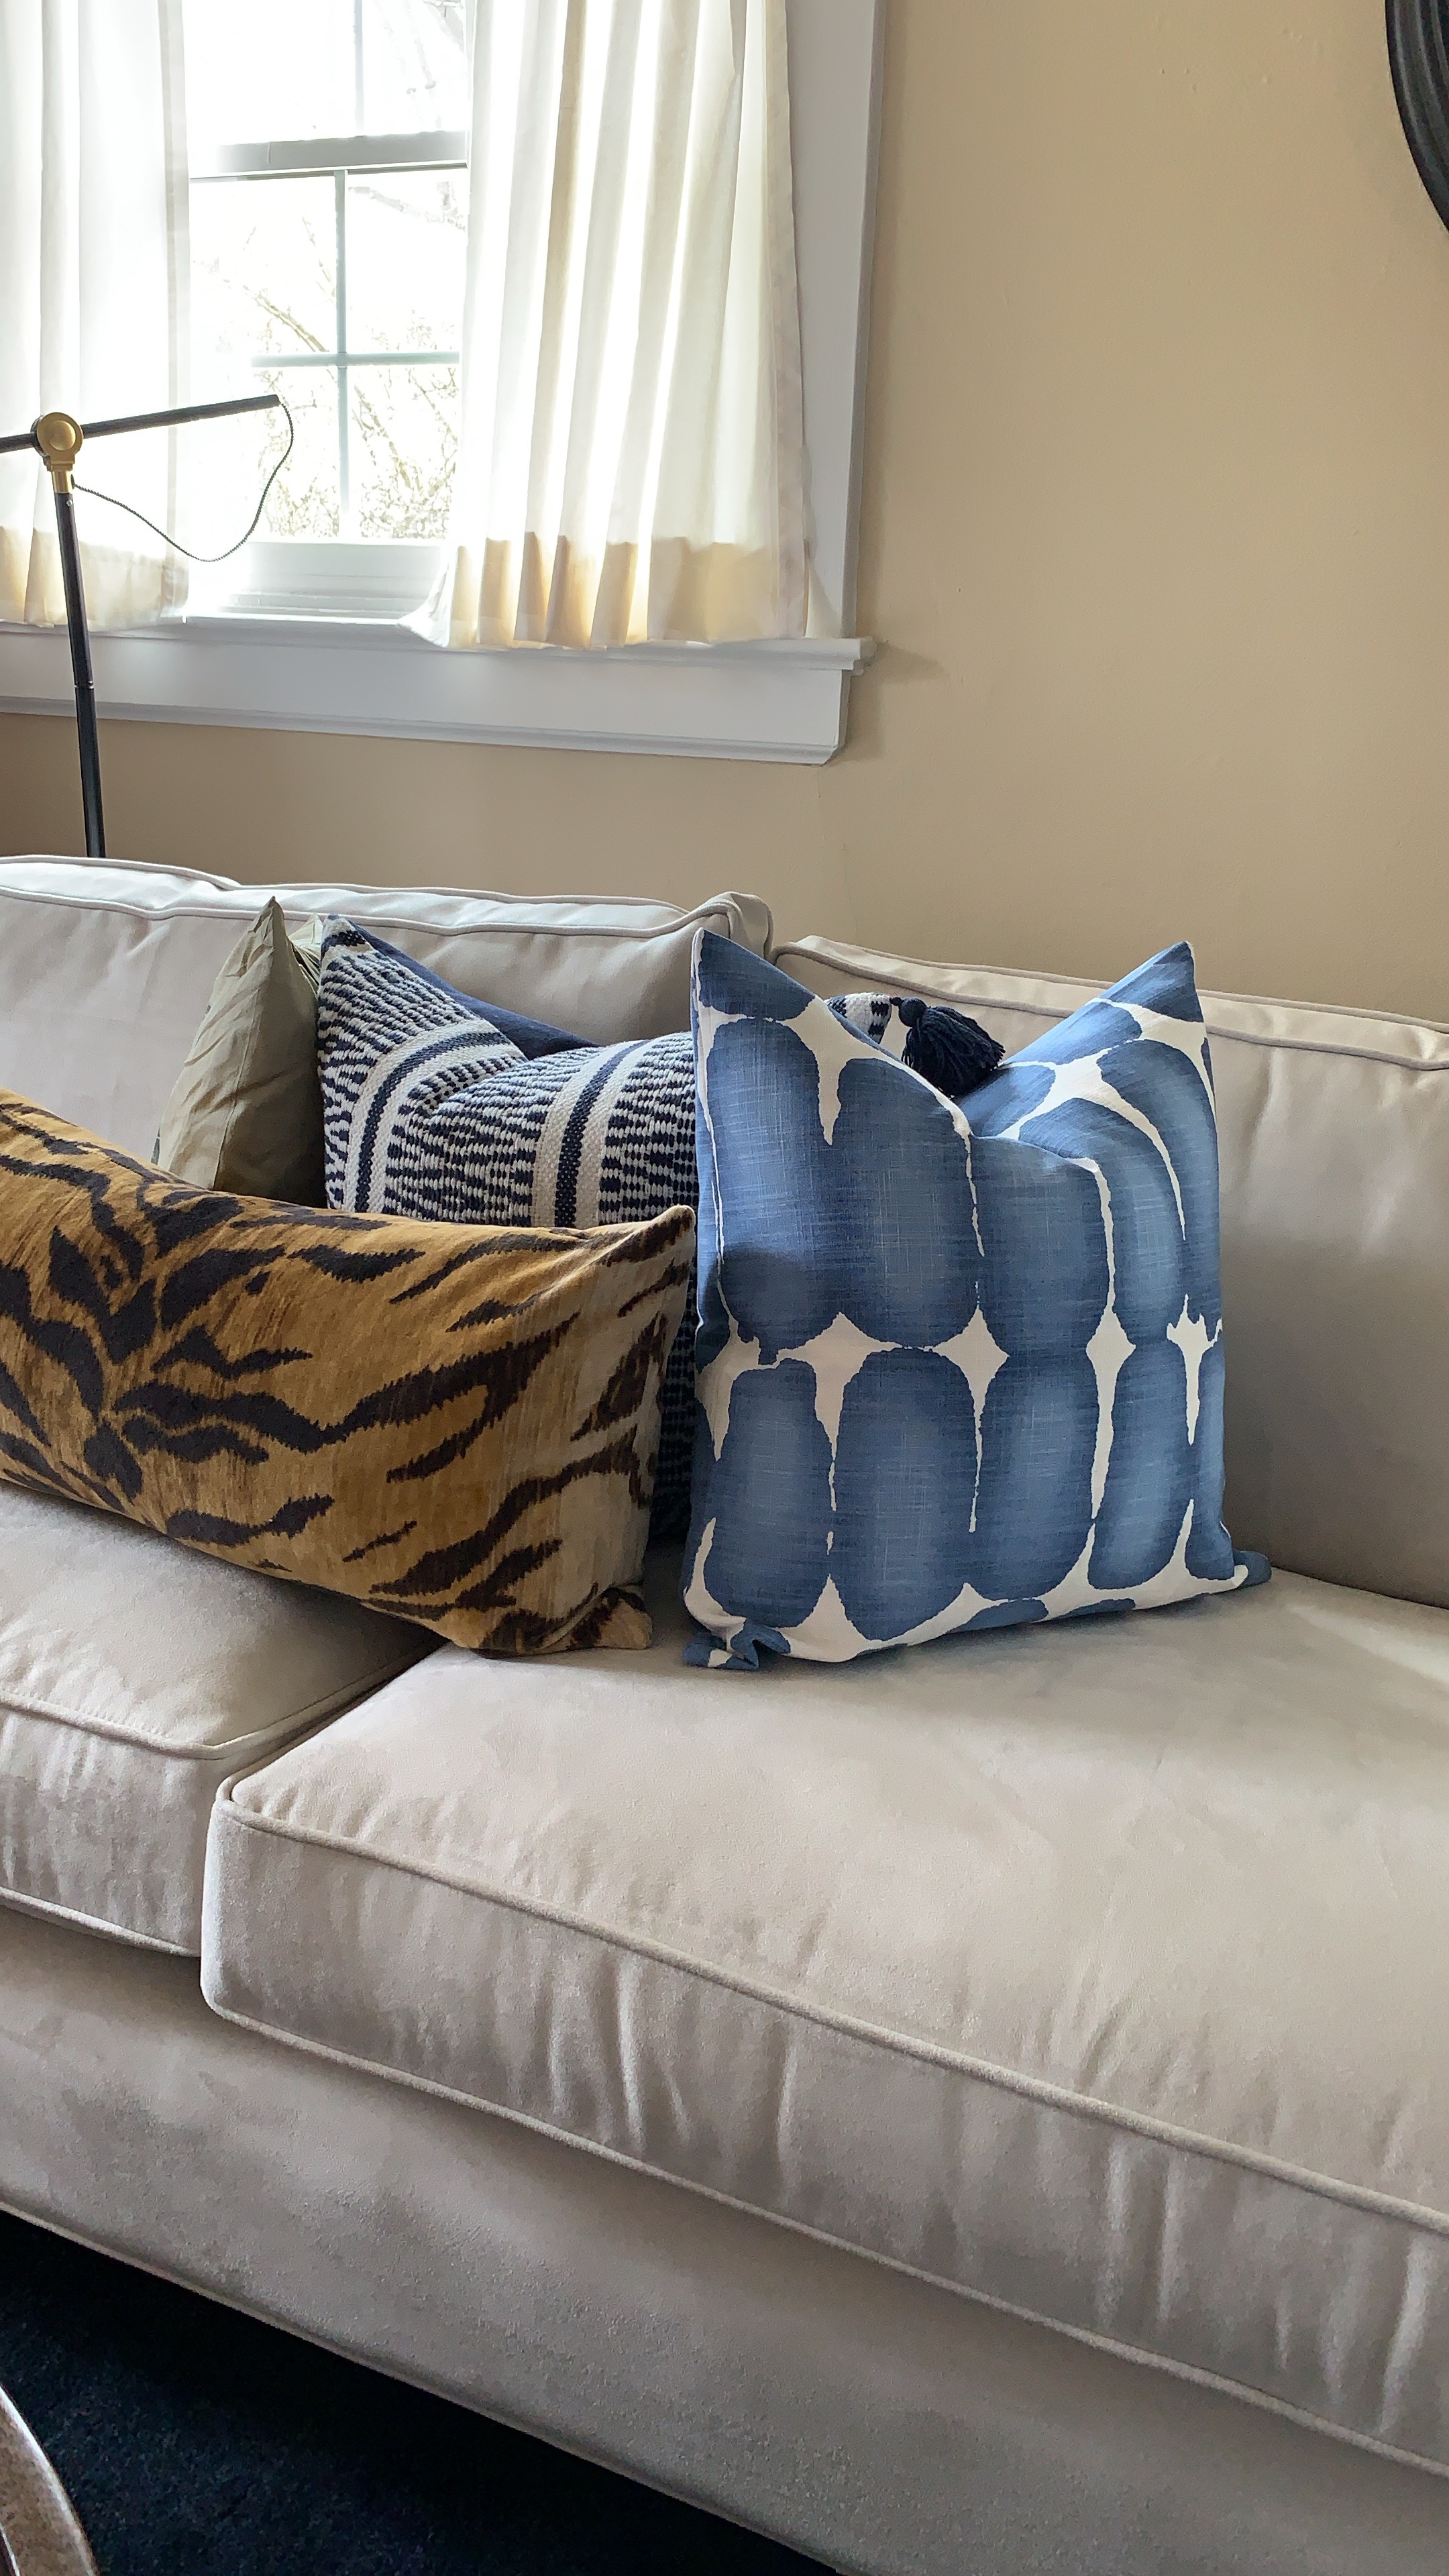
I’m not much of a DIYer.. but, I do make Pillow Slip Covers… yeah - I sew a little. Just this week I made these two covers. I’m psyched at how they turned out and happy to bring some more blue and white into the livingroom. I remember the first time I made a cover years ago and how much work it was - man I was clueless but, like most things I figured it out.

Pillow Slip Cover:
First wrap the fabric around the pillow form - measure for total finished edge and minus 1” to 1-1/2” smaller than size of insert. (This is how you achieve a full finished look of the pillow.)
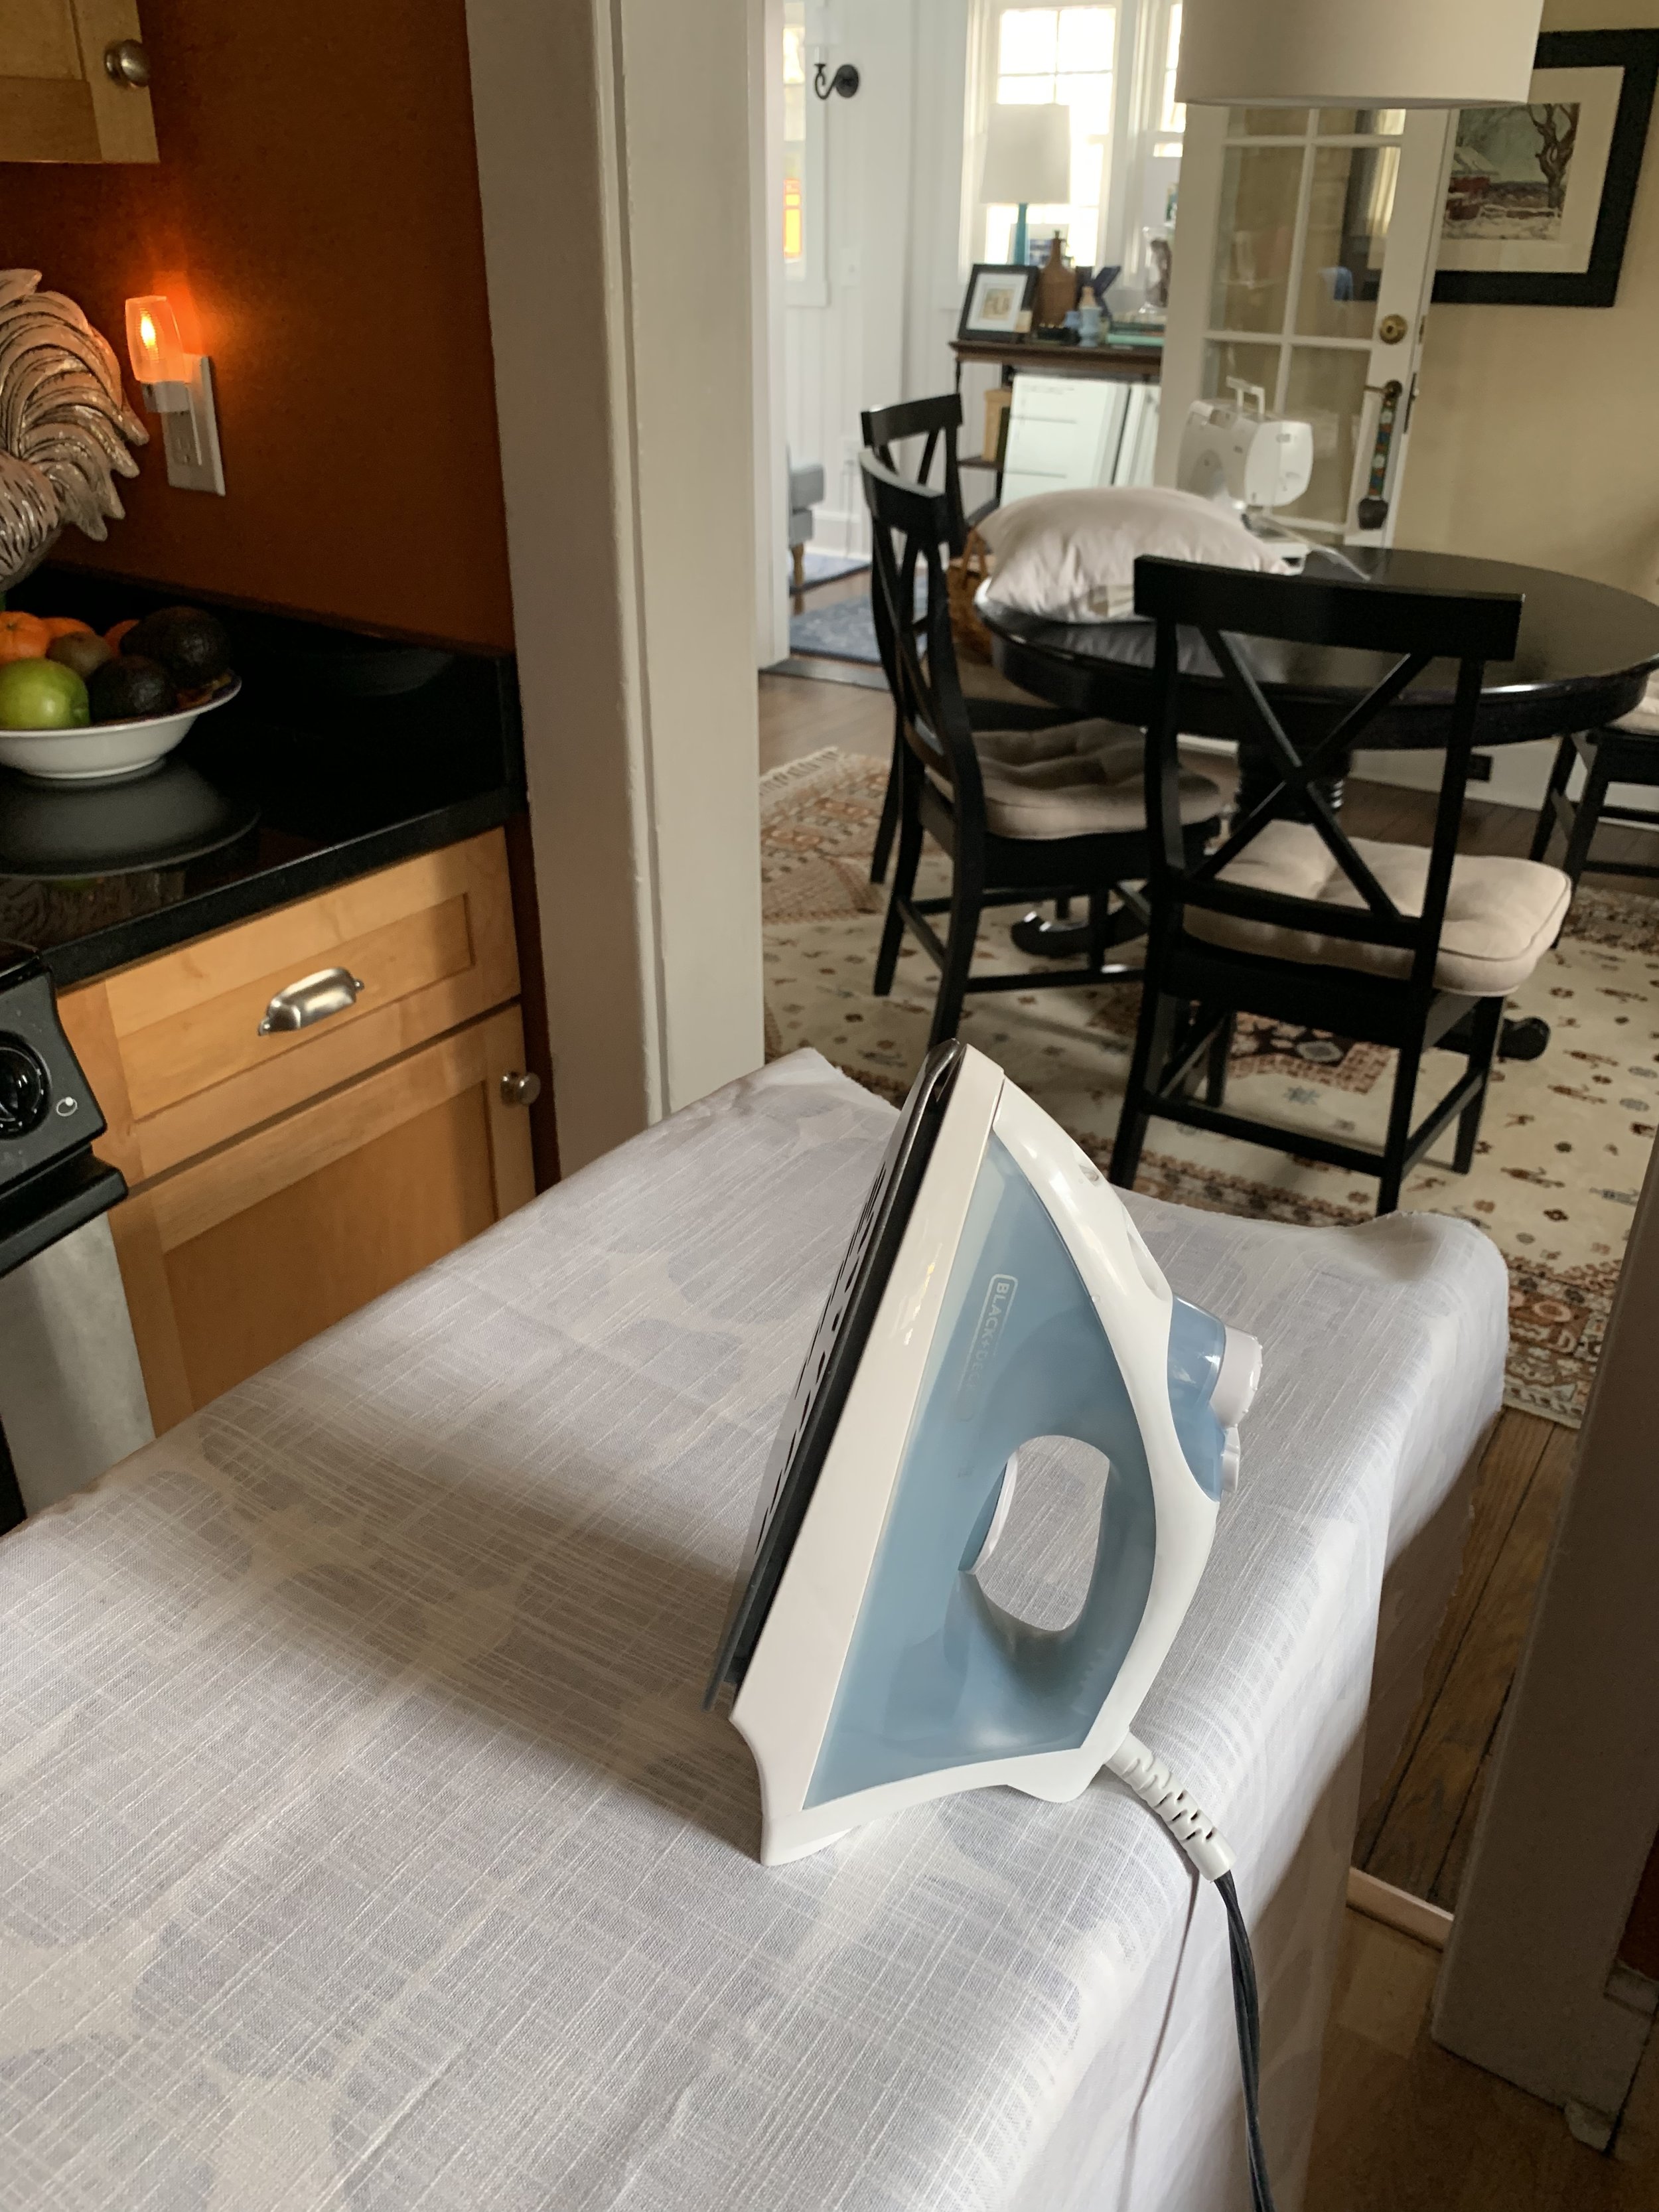
Iron fabric
Start folding & figuring out the top and bottom edges - what part of the pattern you want to showcase. You’ll want the top pocket to extend over the bottom one a great deal to prevent opening or puckering. (I like to bring the opening down quite a bit so that if the pillow gets turned around you won’t notice the opening.)
Iron to make your edges crisp.
Pin edges and remeasure. Take your time. This step is critical. You may need to adjust and use the iron again. Again keeping in mind that you need to make the cover smaller than the actual pillow form.
Turn the fabric inside out and prep to start sewing.
Slowly run your stitch along one side and repeat. (yes, I only sew two seams!!!)
Turn right side out paying close attention to fully pushing out the corners.
Insert pillow form and voila!


Like I said I am not much of a DIYer but, I do want to tackle projects around the Chalet and with help from my husband I’m learning how!
I recovered a Chair!
We have an old oak chair in our bedroom that holds extra blankets and pillows at bedtime.
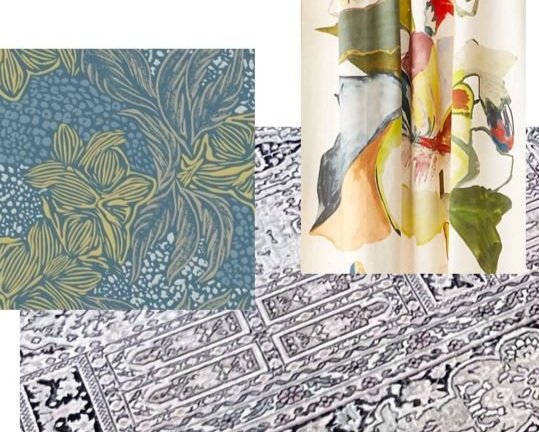
Last month I had a light-bulb moment… I have a lot of different fabrics from Fabric.com in a bin waiting to be made into Pillow Slip Covers and this time I decided to upgrade the chair and introduce another lovely blue and white pattern into our bedroom.

Isn’t she sweet - I have no idea how old she is. (she’s old) To the best of my recollection she was in the basement at my parents while I was growing up. Previously she’d even been a desk chair for my husband and then she sat in our basement here at the Chalet - until I thought she’d be a good option next to my highboy dresser.

What a change in about an hour! I love how it turned out!


Let’s talk about the Bolster Pillow we installed in our sons room. When I redesigned Liam’s room last summer - I knew having his bed against an outside wall would necessitate a pillow option when the temperatures dropped.
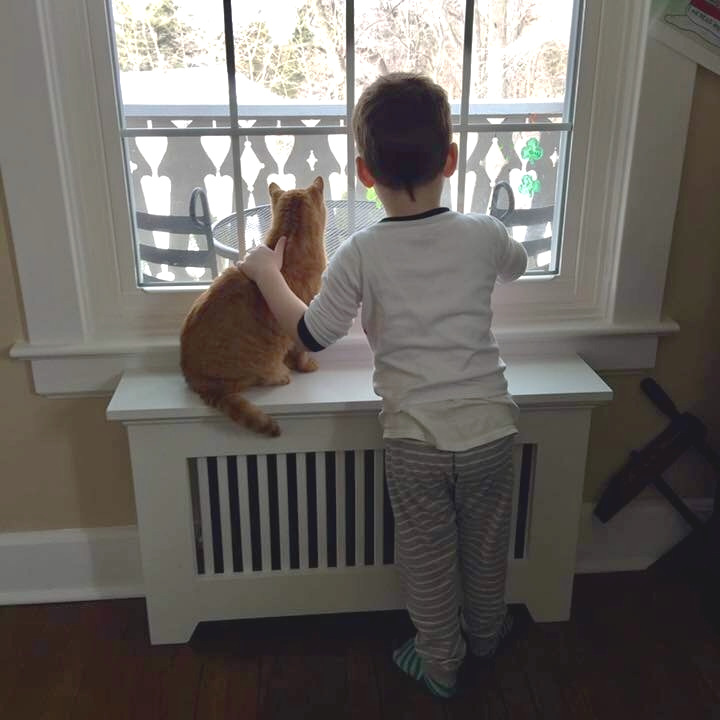
The Chalet has scant insulation and shown here at right you see that his bed was on his interior wall for years. (Holy Cow look at the stuff!)
The only way to stop the cold from transferring to his bedding was to build a Bolster Pillow and attach it to the wall leaving an air-gap.
I drew it out and went to JoAnn Fabrics picking out foam and Blue Microfiber fabric. Friends I love me a good Microfiber and lucky for me my hubby had wood on-hand to make the backer.

Installing the Wall Cleat was the first step.

Then hanging the backer to make sure it was level and the gap was correct.

It came together quickly. 1 sheet of MDF, 1 Cleat on Backer, 1 Wood Strip at bottom of Backer board to hold square to wall.

A little time with the staple gun and finito!

Here it is friends! Liam loves that he can sit on his bed Sofa style! I love that I don’t need to jam a million pillows and blankets between his bed and the wall. Living in an older home has it’s charms but, it also has it’s challenges - I am thrilled that we were able to tackle this one with a wonderful result!
Bolster:
1 sheet of MDF
1 - 2 x 4 ripped to create Wall Cleat and Cleat on Bolster
1 Wood Strip to hold the backer board square to wall.
Foam
Fabric
About 2 hrs of time - For Build and Installation. Additional time to source materials.

Til next time! Here’s to creating what YOU need!